How To Reshape A Crumpled Hat
Is a hat just a hat? To most people, it is. There are so many styles out there, from our dad-style hat to your kid’s baseball cap. Most kids throw theirs anywhere and do not care what happens to the shape. Some people wear it because they do not want to do their hair. Most guys just like the way they look in a hat. It may because they are losing hair. You also have the collectors that their hats must be perfect at all times. Here are some easy steps to reshape a crumpled hat and make it look and feel great after it took a beating.
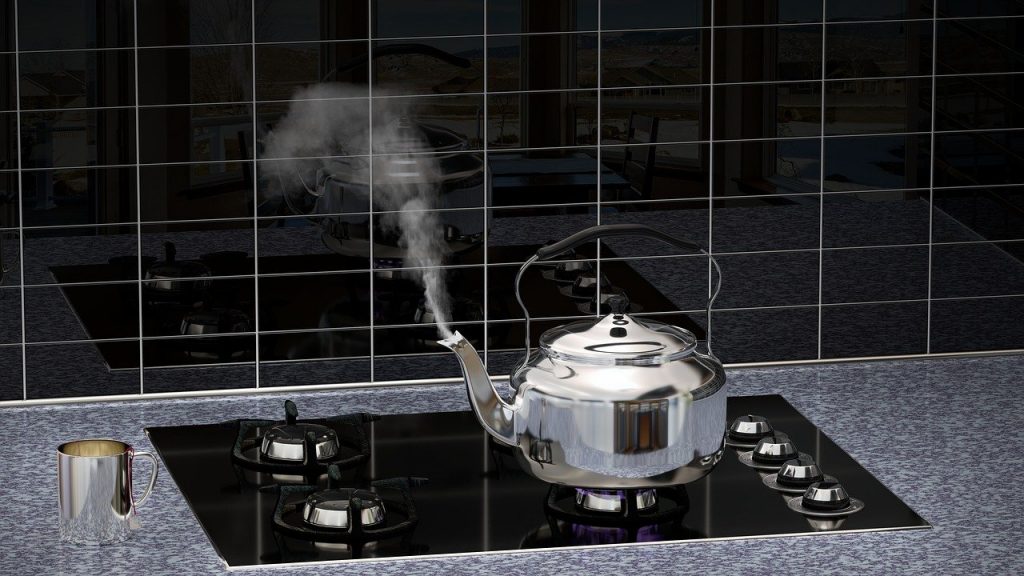
1. Kettle Steam

Using a kettle may be the easiest way to fix your crumpled hat, but not everyone owns a tea kettle. But do not worry, you can you a regular cooking pot. All you have to do is fill your teapot or cooking pot with water and turn on your stove. When you are using this method, make sure you remind yourself about safety. Keep your face away from the steam. This will burn you just like an open flame. I would use some oven mitts or tongs to hold your hat over the steam.
Once you get your water boiling, place your cap over the steam. The steam will soften the fabric allowing you to reshape your hat. The moisture from the steam makes it easy to get your shape back. This method works best for baseball-style hats.
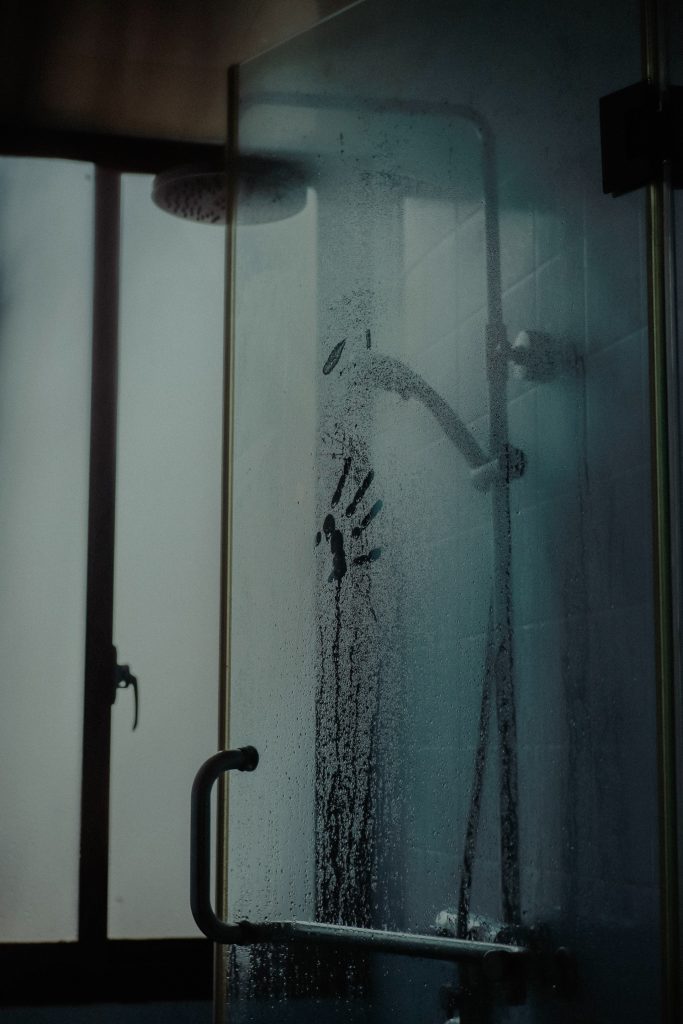
2. Steam from Your Shower

Suppose you do not have time for a tea kettle for the cooking pot. Next time you are taking a hot shower. Place your crumpled hat inside the shower but not in the water. The steam from the shower will start to loosen up your cap like a tea kettle; you will begin to see results in about 10 to 15 mins. After you shaped your hat, place it in a dry towel and let it air dry.
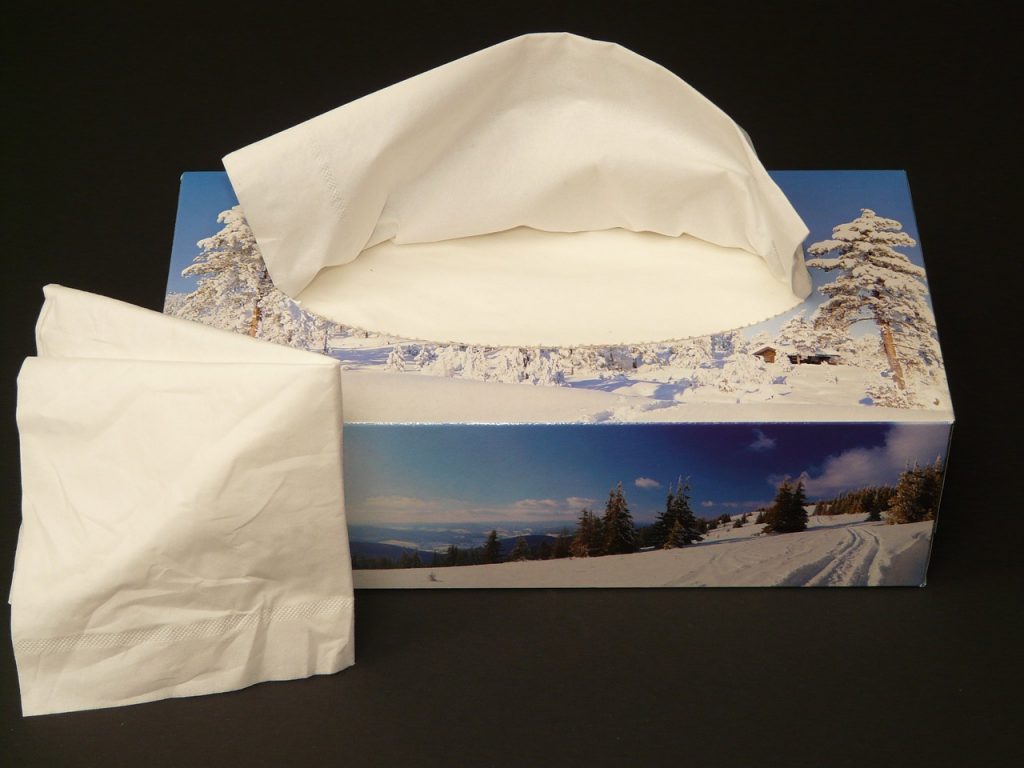
3. Use Tissue Paper

You thought tissues were just for your nose. Using tissues is the best method for leather or suede hats. In this easy method, you stuff your hat full of tissues. You need to make sure the tissues are packed in there. If they are not, it will not help to reshape your hat. Once you stuffed your hat, please place it in a cool, dry place and let it site for 24 hours. After 24 hours, check your hat to see if you fixed the crown. If it isn’t fixed, then restuff your hat and sit longer until it is shaped to your perfection.
4. Use a Ball
Remember the days if you played baseball as a kid. Your parents may have used a good size ball to shape your glove. You would have to do this for days, keep applying oil, and keep checking on it to make sure it took shape for your upcoming game. The same goes for a crumpled hat. Give your hat a light soak. Pull your small football out of the garage, place the cap around the ball. You can tie a short rope around the hat and ball to keep it in place while it dries. You can set the hat near a heat source to speed up the drying time but be careful it is not too close that it starts on fire.
It sucks when your favorite hat starts to look worn out. I find these four methods the easiest way to reshape a hat.
Featured Image by Harry van Hees from Pixabay


